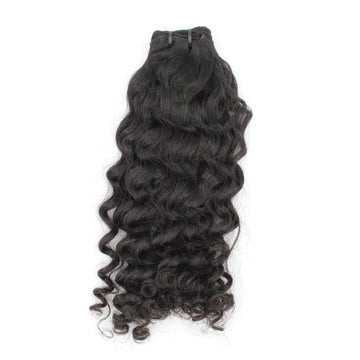
When it comes to creating custom hair extensions like tape-ins or clip-ins, cutting hair bundles correctly is crucial. Follow these expert tips to ensure a seamless and professional result.
1. Start by Preparing the Hair Bundles
Before cutting the hair bundles, make sure they are clean, detangled, and ready for customization. This will make the cutting process much smoother and more precise.
2. Measure and Mark the Desired Length
Use a measuring tape to determine the length you want for your extensions. Mark this length on the hair bundles using clips or hairpins to ensure accuracy and consistency.
3. Cut the Hair on the Track
When cutting the hair bundles, it's essential to cut them on the track to maintain the weft's integrity. Use sharp scissors to make a clean and precise cut along the marked line.
4. Check for Evenness
After cutting the hair bundles, check for any uneven or jagged edges. Trim any excess hair to ensure a smooth and uniform finish for your custom extensions.
5. Style and Install the Extensions
Once you have cut the hair bundles to the desired length, style the extensions as needed and install them using your preferred method, whether it's tape-ins, clip-ins, or another technique.
By following these expert tips on how to cut hair bundles for custom extensions, you can create professional-looking and customized hair extensions for yourself or your clients. Remember to always use sharp scissors and take your time to ensure a flawless result.


