Clip-in hair extensions are a popular way to add length and volume to your hair without the commitment of permanent extensions. If you have weft bundles of hair that you want to turn into clip-ins, follow these steps to create your own custom clip-in hair extensions.
Step 1: Gather Your Materials
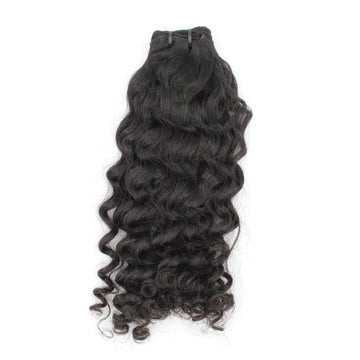
Before you begin, make sure you have all the necessary materials on hand. You will need weft bundles of hair, clips for the extensions, needle and thread, scissors, and a comb.
Step 2: Measure and Cut the Weft
Measure the weft against your head to determine the desired length of the clip-in extension. Use the scissors to carefully cut the weft to the appropriate size.
Step 3: Attach the Clips
Take the clips and sew them onto the top of the weft. Make sure to securely attach the clips to the weft to ensure they will hold the extension in place when clipped into your hair.
Step 4: Style and Blend
Once you have created your clip-in extensions, style them as desired to blend seamlessly with your natural hair. You can curl, straighten, or wave the extensions to match your hair texture.
Step 5: Clip-In and Enjoy
Now that your clip-in hair extensions are ready, simply section your hair, clip in the extensions, and enjoy your new look! Clip-in extensions are a versatile way to change up your hairstyle without the commitment of permanent extensions.
Creating clip-in hair extensions from weft bundles is a cost-effective way to customize your hair extensions to your desired length and style. Follow these steps to create your own clip-in extensions and achieve the hair of your dreams.